
How To Install Ridge Cap Shingles On Your Roof?
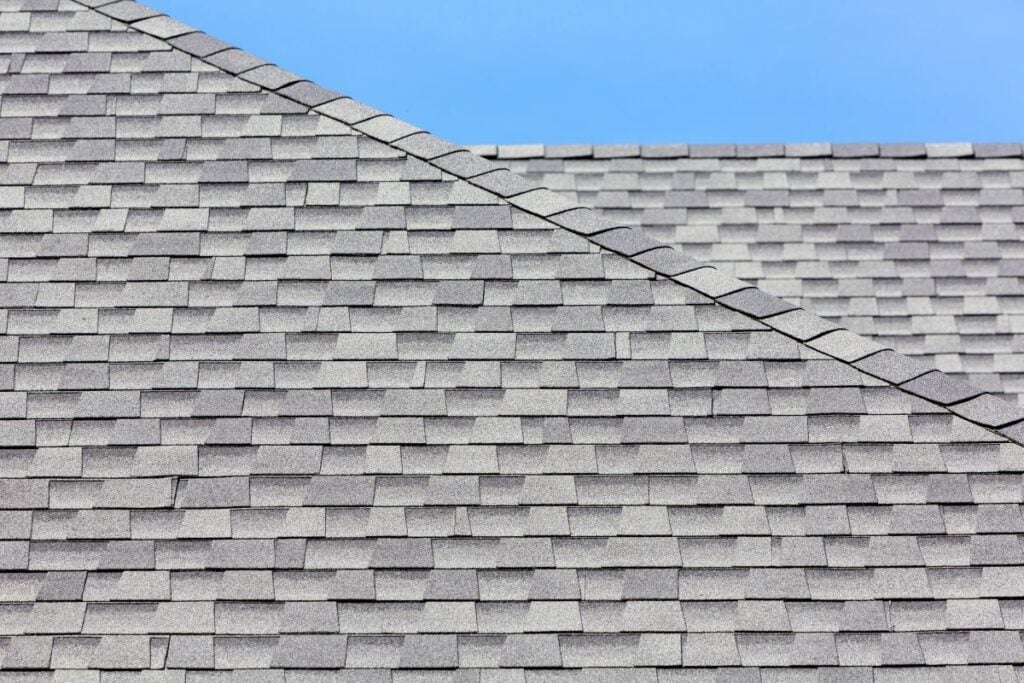
Learning how to install ridge cap shingles is an important skill for any homeowner tackling a roof project or evaluating contractor work. Ridge caps are the finishing touch on a shingle roof, installed along the peak to protect the roof’s most vulnerable seam. They help shed water, keep out wind-driven debris, and enhance the appearance of your roofline. Proper installation is key to long-term performance.
- Protects the ridge: Ridge caps shield the high point of your roof from water intrusion.
- Enhances ventilation: Combined with ridge vents, they support airflow in the attic.
- Boosts curb appeal: Clean, even ridge lines complete the finished look of your roof.
In this guide, we’ll walk through the materials you need, safety precautions, and 7 steps to properly install ridge cap shingles.
Tools and Materials You’ll Need
Before starting the project, gather the necessary tools and materials. This helps avoid delays and ensures a smoother installation.
- Ridge cap shingles or cut three-tab shingles
- Roofing nails (1 1/2-inch galvanized preferred)
- Roofing hammer or nail gun
- Utility knife or hook blade
- Chalk line
- Roofing adhesive (for extra hold in high-wind areas)
- Ladder and fall protection
- Gloves and safety goggles
Always follow OSHA-approved safety protocols, especially when working at height.
7 Steps to Install Ridge Cap Shingles
Follow these seven clear steps to complete your ridge cap installation correctly. Each step ensures better weatherproofing and a clean, professional appearance.
1. Prepare the Ridge
Start by making sure your ridge is clean, dry, and clear of debris. Any remaining roofing material or fasteners from previous work should be removed. This creates a smooth, even surface for the ridge caps to adhere properly.
If your roof includes a ridge vent system, ensure it is installed and aligned before laying shingles over the top.
2. Snap a Centerline
Use a chalk line to mark the center of the ridge. This line helps you keep your ridge cap shingles centered and evenly aligned along the peak. Starting from this guide ensures that each shingle overlaps neatly and the ridge looks straight from the ground.
If your roof has multiple ridges, mark each one before beginning installation.
3. Start at the End Opposite Prevailing Winds
Begin installation at the end of the roof that is farthest from the prevailing wind direction. This ensures that each overlapping ridge cap shingle resists wind uplift and doesn’t get peeled back by strong gusts.
In North Dakota cities like Dickinson and surrounding areas, wind resistance is a key factor due to frequent storms.
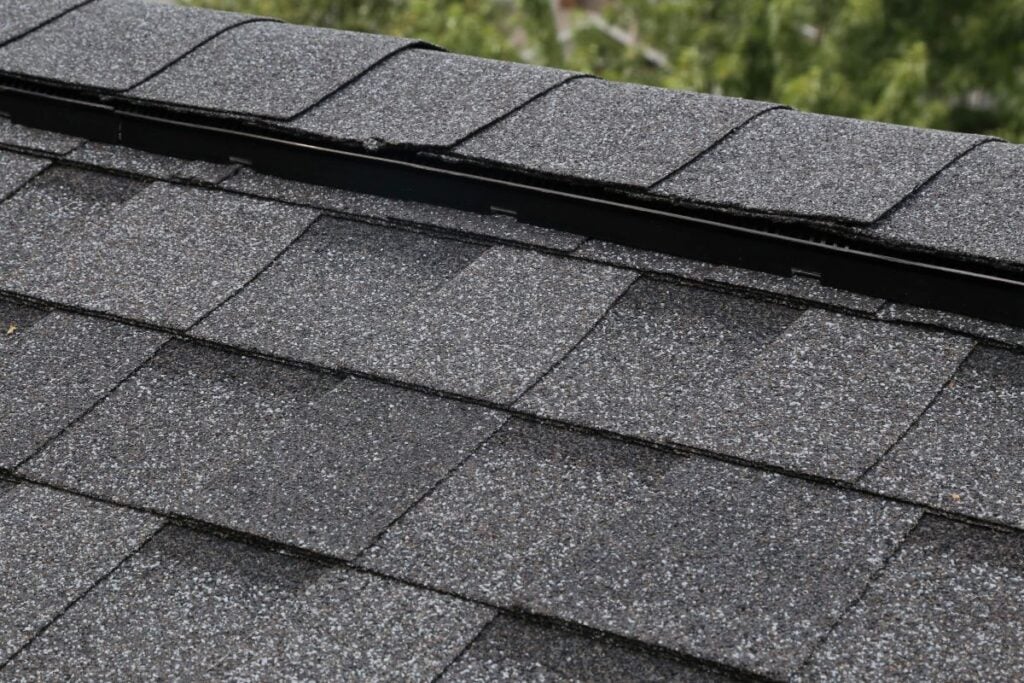
4. Lay the First Ridge Cap Shingle
Place your first ridge cap shingle so that it extends evenly across the ridge. Nail it in place using two roofing nails, one on each side about 6 inches from the edge. Ensure the nails are high enough to be covered by the next shingle.
If you’re using three-tab shingles cut into ridge caps, make sure they’re folded along the center to form a clean, even angle over the ridge.
5. Overlap Each Cap Shingle
Continue laying each ridge cap shingle so it overlaps the previous one by about 5 to 6 inches, covering the nails below. Maintain a consistent overlap for a clean appearance and proper water shedding.
Use your chalk line as a guide to keep the ridge line straight as you work across the roof.
6. Secure With Nails and Optional Adhesive
Drive two nails per shingle, one on each side, about 1 inch up from the bottom edge. For added hold—especially in windy areas—apply a dab of roofing adhesive under each shingle before nailing.
Make sure nail heads sit flush with the surface without cutting into the material.
7. Finish With a Final Shingle and Seal
When you reach the final ridge cap shingle, you may need to trim it slightly to fit. Nail it securely and use roofing cement or adhesive to seal the exposed nail heads. This final touch helps prevent leaks and keeps the last shingle from lifting over time.
Smooth down the edges and double-check your work for clean lines and proper sealing.

Common Mistakes to Avoid
Improper installation of ridge cap shingles can compromise your entire roofing system. Watch out for these common errors:
- Nailing too low: This leaves nail heads exposed to weather and can lead to leaks.
- Inconsistent spacing: Uneven overlaps make your roof look sloppy and reduce weather resistance.
- Skipping adhesive in windy regions: Extra hold matters in storm-prone areas like Dickinson and surrounding areas.
- Not folding cut shingles properly: Creates a loose fit and gaps at the ridge.
When to Hire a Professional
Installing ridge cap shingles is possible for experienced DIYers, but not always advisable on steep slopes or high roofs. If your roof has a complex design, tall pitch, or you’re unsure of your ability to work safely, hiring a professional is the best choice.
Roofing contractors like 5 Star Roofing and Contracting can ensure the job is done right the first time—with proper sealing, alignment, and local weather considerations.
Seal Your Roof With Confidence
Properly installed ridge cap shingles are your roof’s first defense against leaks, wind, and water damage—especially in storm-prone areas like Dickinson and surrounding areas. Following the correct steps, using the right materials, and understanding the importance of clean overlaps and sealing can make all the difference in how long your roof performs.
If you’re unsure about installing ridge cap shingles or want expert help finishing your roof, the team at 5 Star Roofing and Contracting is here to help. We offer free inspections, expert craftsmanship, and tailored solutions that fit your roof’s specific needs.
Contact 5 Star Roofing and Contracting today for a free inspection and make sure your ridge cap shingles are installed to last.


